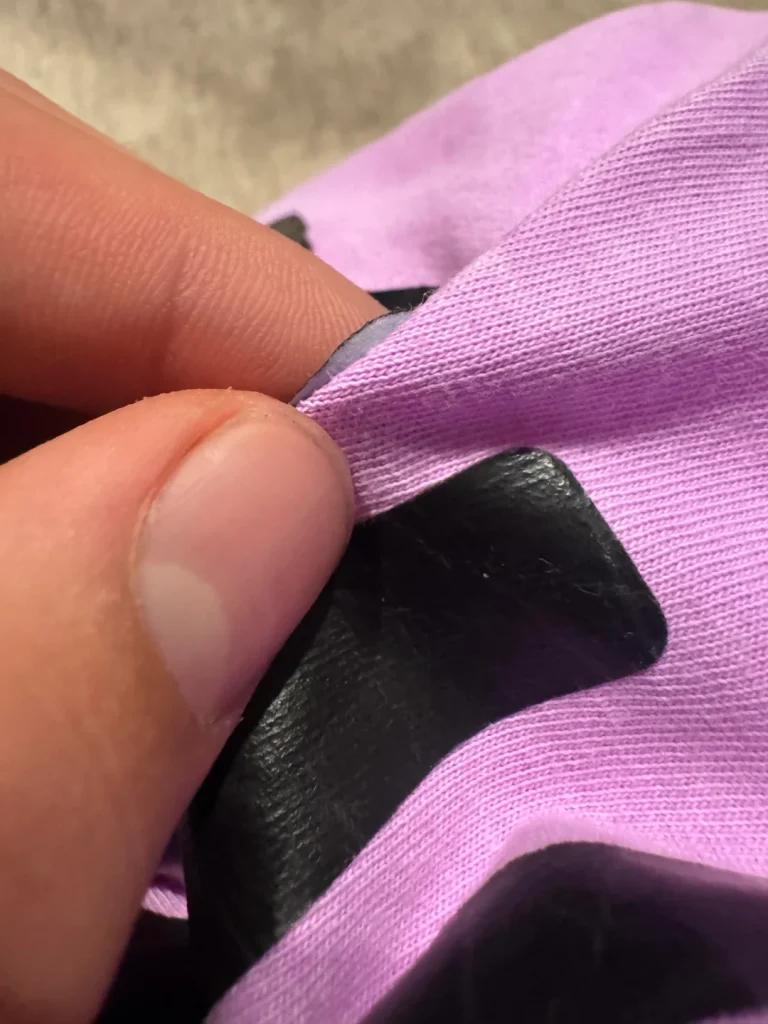
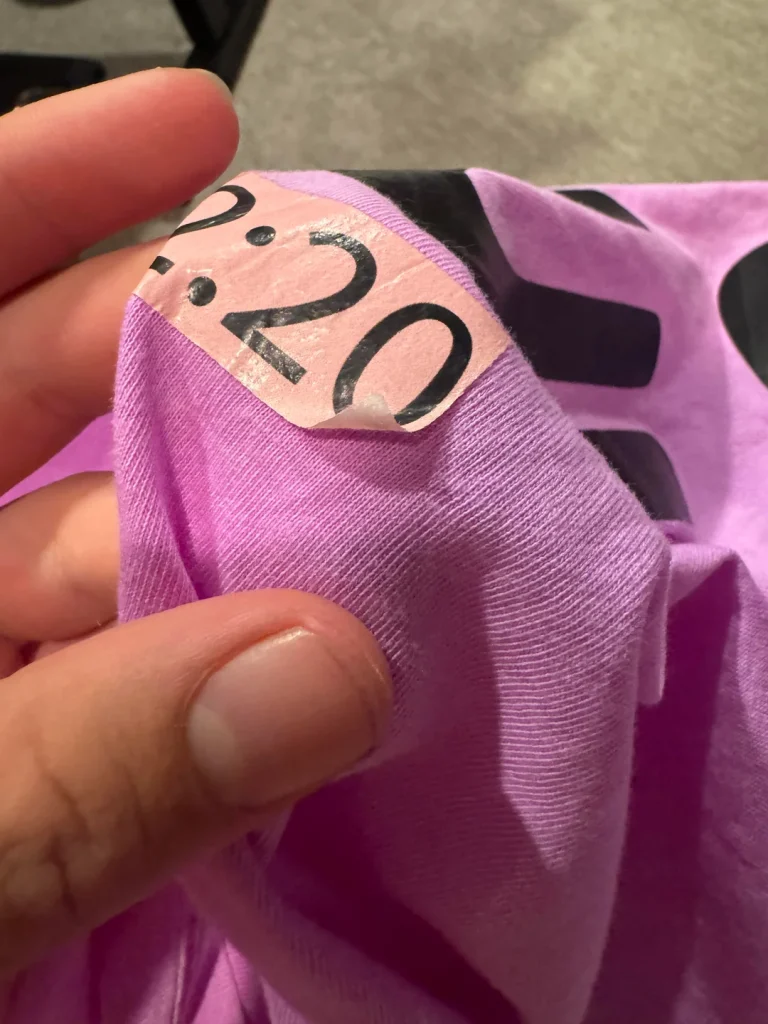
I. Introduction: The Frustration of Failure
You’ve invested time, money, and creative energy into your Direct-to-Film (DTF transfers). You’ve printed them, pressed them, and the result looks fantastic. But then comes the moment of truth: the first wash or wear.
That beautiful design you expected to last for years suddenly begins to fail—it’s cracking, bubbling, or, worst of all, peeling off right before your eyes. This isn’t just a frustrating quality control issue; it’s a direct threat to your business reputation and a major loss of profit.
The good news? Most DTF failures are not the fault of the film or the adhesive itself. The overwhelming majority of cases stem from simple, correctable errors in the heat application process.
In this article, we’ll diagnose the three main culprits behind peeling DTF and provide a powerful 4-step checklist—your permanent solution—to ensure maximum adhesion and guaranteed, long-lasting durability for every product you press.

II. Diagnosing the Root Causes of DTF Peeling (The Culprits)
Before you can fix the problem, you have to understand why it failed. All DTF peeling issues boil down to a failure to properly melt and bond the powder adhesive to the fabric. This failure almost always falls into one of these three categories:
A. Culprit #1: Inconsistent Heat (The Temperature Trap)
The DTF adhesive powder needs to reach a precise temperature to fully liquefy and “cure.” If your temperature is too low, or if the heat is not uniform across the heat platen, the powder won’t fully activate.
- Problem: Temperatures that are too low or uneven prevent the adhesive from properly melting and chemically bonding with the fabric fibers. This leaves the transfer only superficially attached.
- Quick Check: Is your heat press calibrated? Cheap heat presses are notorious for having “cold spots”—areas of the platen that are 10∘F to 20∘F lower than the digital display says. This is why one side of a graphic might peel while the other is fine.
B. Culprit #2: Insufficient Pressure (The Bonding Gap)
Heat melts the adhesive, but pressure is what forces that molten glue deep into the tiny crevices and fibers of the garment’s weave. Without enough pressure, you create a weak, superficial bond that will fail quickly.
- Problem: Low pressure doesn’t force the molten DTF adhesive deep enough into the fabric. The result is a transfer sitting on top of the fabric instead of fused within it.
- Quick Check: You should feel firm resistance when locking the handle of your heat press. For DTF, you generally need medium-to-high pressure. If your press closes easily, it’s almost certainly too low.
C. Culprit #3: Incorrect Timing & Peeling Technique (The Cure Calculation)
The total time the transfer spends under heat is critical (the curing process). But just as important is when and how you remove the film after pressing.
- Problem: Removing the transfer too quickly (under-curing) means the adhesive hasn’t fully bonded. Conversely, waiting too long or using the wrong peeling method for your film type will cause the transfer to lift unevenly or tear.
- Key Distinction: Cold Peel vs. Warm Peel—Most DTF films require one or the other. Using a warm peel technique on a film designed for cold peel will cause immediate, catastrophic failure. You must know your film type.
III. The 4-Step Checklist to Fix DTF Peeling (Your Permanent Solution)
This checklist provides the actionable, repeatable steps that guarantee DTF durability and maximum adhesion. Implement these four steps to permanently eliminate peeling.
Step 1: Confirm Your Temperature & Time (The Manufacturer’s Mandate)
Stop guessing your settings. Your transfer supplier knows their product best.
- Rule: Always use the transfer supplier’s recommended settings (e.g., 300∘F for 15 seconds). Never assume a generic “one-size-fits-all” setting will work.
- Actionable Tip: Purchase an external digital thermometer or infrared heat gun and use it to verify the actual temperature of your heat press platen. Calibrate your press if the reading is significantly off.
Step 2: Dial in the Pressure (The “Slight Squish” Test)
Proper pressure is non-negotiable for a professional result.
- The Test: DTF requires firm, medium-to-high pressure. When you close the press on the garment, you should feel a solid ‘lock’ and a slight ‘squish’ of the fabric. If your transfer is peeling, increase the pressure one notch and test again.
- Actionable Tip: Ensure your garment is perfectly flat. Remove seams, collars, and thick pockets from the pressing area. If necessary, use a Teflon pillow or pressing pad to raise the print area and equalize the pressure.
Step 3: Implement the Critical Second Press (The Final Lock)
This is the one step many professionals skip, and it’s a game-changer for durability and feel.
- After you have performed the main press and peeled the film (according to your supplier’s instructions).
- Place a Teflon sheet or parchment paper directly over the exposed DTF transfer.
- Press again for a short secondary cure (e.g., 5-10 seconds) at the exact same temperature.
- Benefit: This re-fuses the adhesive, locks the transfer deeper into the fabric fibers, and dramatically improves the hand-feel (making the graphic softer).
Step 4: Master the Peel Technique (Warm vs. Cold)
Using the wrong peel technique is the fastest path to failure.
- Identify Your Film Type: Does your supplier specify a Cold Peel film (must be completely cool to the touch) or a Warm Peel film (peeled while still slightly warm)?
- Slow & Steady: Peel slowly and evenly, pulling the film parallel to the garment, not straight up towards the ceiling. If any part of the graphic lifts, immediately stop, drop the film back down, and repress for 5-10 seconds. Then try peeling again.
IV. Post-Press Care: Maximizing DTF Durability
Even the best press can be ruined by improper washing. Guide your customers with these instructions:
- Washing Protocol: Advise customers to wait a full 24 hours after receiving the product before the first wash. This allows the adhesive to fully cure.
- Inside-Out Washing: Always recommend washing the garment inside out in cold water. This protects the transfer from abrasion inside the washing machine.
- Drying: Line drying is best. If a dryer must be used, tumble dry on the lowest heat setting available. Avoid high heat, which can reactivate the adhesive and cause cracking or peeling.
V. Conclusion: Quality Control Means Business Growth
Peeling DTF transfers are not a sign of a poor product, but simply a result of a missed step in the heat pressing process. The fix is remarkably simple: it’s all about applying precise heat, adequate pressure, correct time, and the crucial second press.
Implementing this 4-step checklist moves you from hoping your prints last to guaranteeing your quality. Guaranteed quality builds customer trust, eliminates costly returns, and drives profitable repeat business.
What is the #1 issue you currently face with your heat press workflow? Let us know in the comments!

