
Sock Printer Review: A Complete Beginner's First Experience (True Story)
A total newbie on our team tried a sock printer for the first time. Here's the honest, hands-on account ... what's easy, what trips you up, and how it really works.
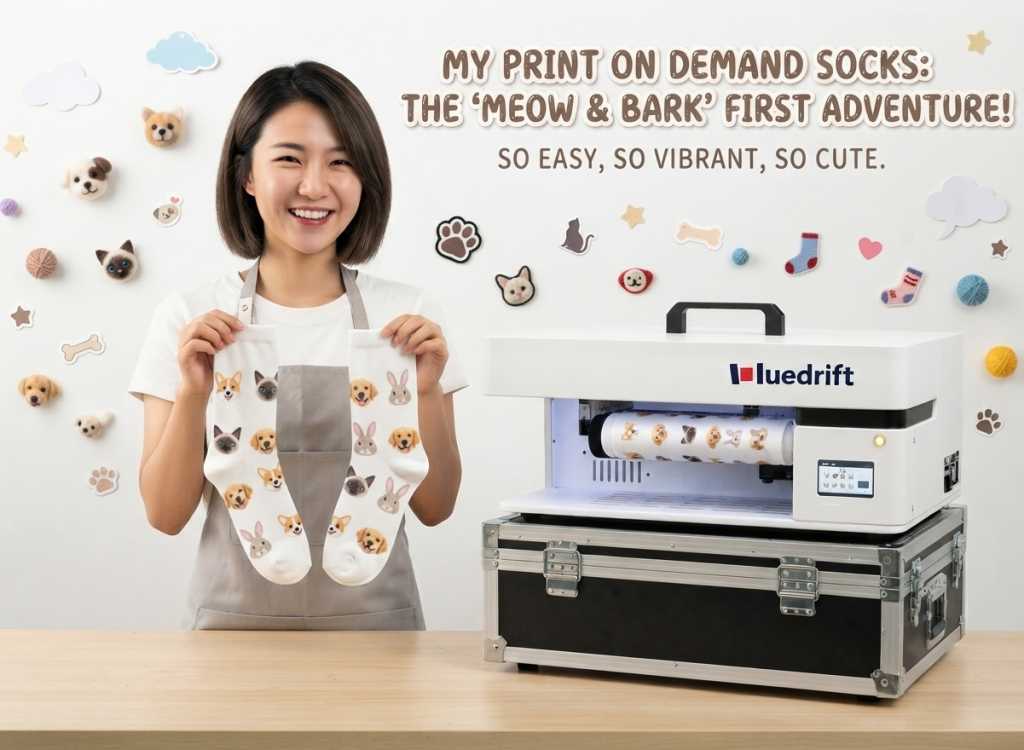
Hello everyone, my name is Jesse and I'm a content writer for HueDrift. Basically, dealing with machines isn't my strong suit, writing is. Some team members were worried that people might feel scared about operating a sock printer and think they can't use it, so they sent me, a complete beginner, to operate it myself. The idea was to see things from your perspective as a reader.
Is it possible to print a perfect sock if you've never held a printer before? That's where my experience begins.
Appearance-wise, it's a desktop device that fits
My initial impression was that it's much smaller than I imagined.
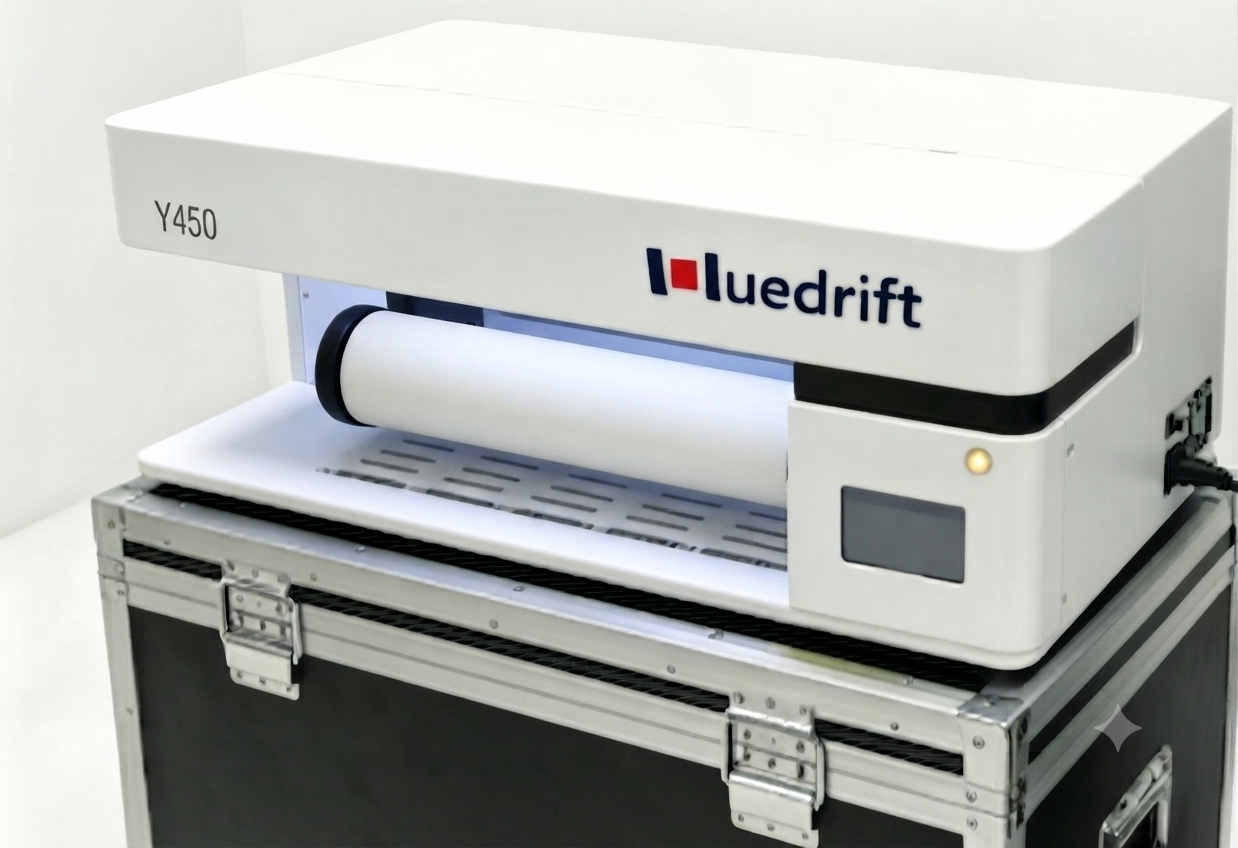
As a sock printer, the Y450 is a desktop-size device measuring 840 x 415 x 314 mm, and it can be placed on a regular table without any difficulty. That's quite important when we're talking about a startup. You won't need to rent a workshop or vacate an entire warehouse ... just a corner of your table will do. And that's the difference between machines like this and those industrial devices that take up 2-3 meters or more. This one is designed to create small runs in home or small-shop conditions.
But don't be fooled by the compactness. It contains everything necessary for its operation: 360° rotary printing, a professional printhead, a touchscreen control system, and even a matched curing oven, so all you need is one unit for the full printing cycle. One thing you may ask about is that the device is packed in a wooden crate with foam layers, so it arrives safely, no dings. It's sturdy too, particularly the THK rail, which glides so smoothly. This is certainly not a lightweight product designed for casual consumers.
Technical details in brief
| Specs | Y450 |
|---|---|
| Print Technology | 360° rotary direct printing |
| Printhead | Single Epson i1600 |
| Ink | High-temp disperse ink (CMYK) |
| Print Speed | ~10 seconds per sock (30 pairs/hour) |
| Curing | 180°C oven, 2 minutes |
| Machine Dimensions | 840 x 415 x 314 mm (desktop) |
| Control | PC, mobile app, and touchscreen |
The part beginners miss most often: putting the protective paper down first
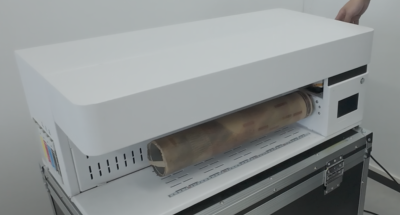
When setting up, I nearly made the most common rookie mistake: hurrying to put on a sock and start printing, missing the important step of laying the protective paper down first.
Why can't you ignore it?
- It protects both the sock and the roller. The protective paper sits in between, so the pressure stays even during printing and the sock stays clean. That's what lets you create an immaculate end product.
- It ensures accuracy. The paper should be laid flat and kept tight. If it folds or wrinkles, the sock follows its example and the design comes out inaccurate.
You shouldn't get scared about having to buy this paper for every sock, though. You won't remove the paper after printing the first one ... simply put on another sock and keep going. If you do need to order more, don't panic, it's available online at reasonable prices in universal sizes.
Loading the sock: pulling it taut is the secret
Once the paper is set, loading the sock is the next step.
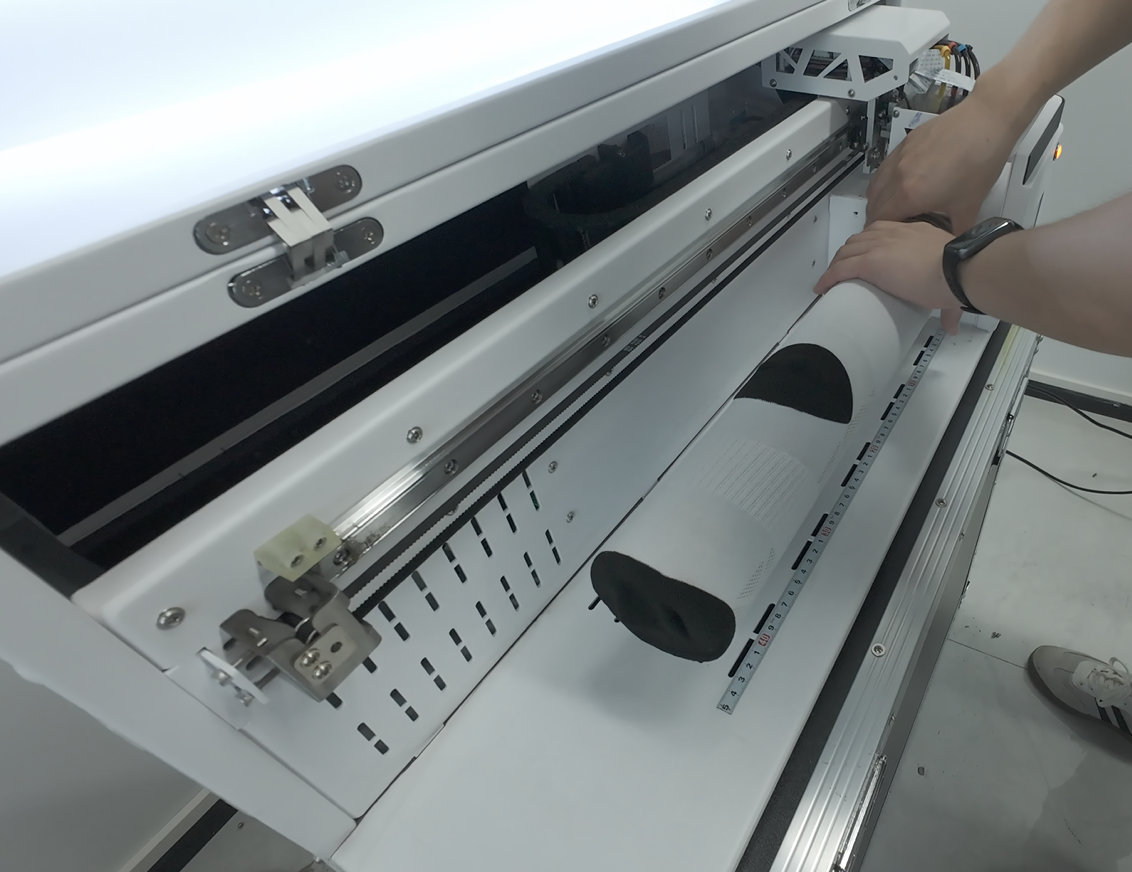
This isn't a tricky step, except that there's one thing to know: once the sock is on the roller, stretch it into its worn shape, then flatten it. Since socks are elastic, if you load it loosely or crumpled, it distorts the printed pattern. In my case, I didn't take note of it and got an offset pattern at the side of the print. It was easily solved by flattening it again, and the printing went through flawlessly. Just remember, take those few extra seconds to flatten the sock, and you get an accurate print.
There's also the smart Z-axis lift that automatically changes the height based on the thickness of the socks. Very helpful for beginners.
Design and printing: let me be straight with you
Regarding the design process, I have to be honest with you.
You can simply upload your design file to our printing software, then resize and reposition the design and print it. The software interface is easy to understand, and you can manage printing via PC, the mobile app, or the machine's touchscreen. But the thing is, making a good design requires certain skills of a designer, and the printer won't do that for you. If you already have a design, you can just upload it and print. If you don't have any experience in graphic design, you'll need to learn how to create simple graphics or find pre-designed graphics somewhere. I'm not going to sugar-coat anything ... I'd rather speak the truth.
The positive side is that when it comes to the printing process itself, it's really easy, and anyone can handle it, even someone who doesn't know anything about printers at all.
Right when it printed: I watched the whole process
What captured my attention most was the printing process.
The printhead moves steadily across the sock and, using 360° rotary direct printing, deposits the design directly onto it without any pretreatment at all. I was holding my breath, watching the whole pass. As the printhead moved left and right, depositing color after color onto the blank white sock, that sensation of "the design being generated from nothing" was strangely satisfying. I was keeping time: about 10 seconds per sock, far faster than I would have thought possible.
It uses just one printhead, an Epson i1600 with variable-droplet technology, which means it controls droplet size automatically for better image detail and smoother color transitions. I leaned in toward the printed image, ready to see blurry gradients, but instead there was a sharp transition in every shade and fully saturated colors.
Cure your socks before celebrating
I almost jumped up and down for joy over the first sock, but my colleague stopped me. He warned me that I still had to cure it.
It turns out the ink right after direct printing only sits on top of the sock. It isn't fixed yet, which means you can't even wear it. Curing is the process of fixing the ink deep inside the sock fibers.
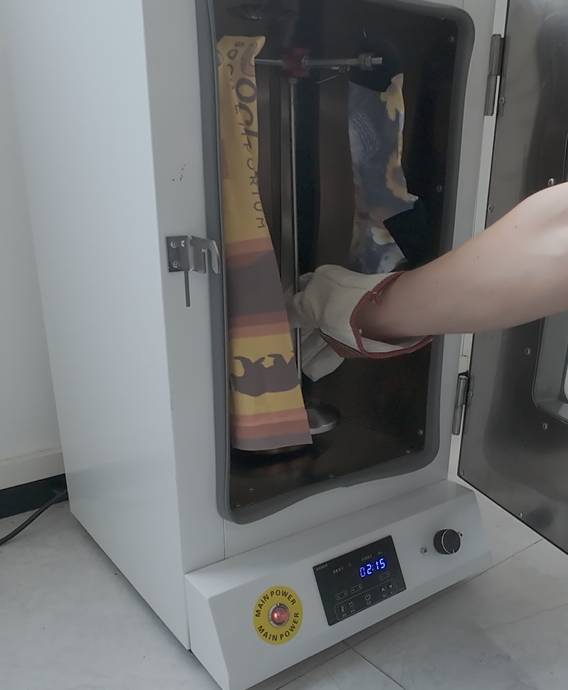
There's nothing complicated about it. Take your printed sock and place it in the matching oven, set 180°C for two minutes, and wait until the buzzer goes off. The very first time I took one out, I noticed the color had become even brighter, since the heat fixes the disperse ink inside the fibers. Don't skip this step, or the design washes out the first time it gets wet.
The texture of the completed sock: what convinced me
What caught my breath was feeling the texture of the finished sock.
Once cured, you can hardly notice the border between the printed and unprinted parts of the material. It's fully absorbed, unlike the stiff surface layer that appears after heat-transfer film is applied to socks. I've felt such products before, where the printed area feels dry and stuffy. In this case, it feels soft and airy, much like an ordinary unprinted sock. The combination of vivid colors, sharp prints, and a comfortable feel is what makes "a sock you could actually wear," not just a sock with a picture on it.
Beginner questions and answers
After completing the entire sock-printing process, here are the questions I most needed answered as a beginner, with real answers from doing it myself.
Is it challenging for beginners?
Aside from the design, which needs some skill, the machine itself is easier than I expected. Laying the paper, loading the sock, printing, and curing ... the whole flow takes just a few minutes to run through.
How much time does each sock take?
About 10 seconds to print. Add loading and the 2-minute cure, and it moves quickly overall, rated at 30 pairs an hour.
Which part fails the most?
Laying the paper and loading the sock. Forgetting the paper or not pulling the sock flat is the top rookie mistake, and it prints crooked.
Can the printed socks be washed?
Yes. Curing sets the ink into the fibers, so everyday washing is fine, with no cracking at stretch points like surface transfers.
Conclusion: one beginner's honest impression
Now that the test run is done, I'm convinced it doesn't come down to any single specification. It comes down to the fact that it makes creating something professional much easier. Sure, the design part will require certain skills from your side, but after that, printing is something even an absolute beginner like me managed easily, around 10 seconds per sock and with no stiffness after curing.
The first tip I'd give you is that for quality prints, both the machine and the socks matter. The kit includes several special socks so you can build an understanding of what a "quality print" looks like. Once those are used up, find high-quality blank socks of similar material in bulk. As long as the fabric is suitable, the prints won't let you down.
And if you're still trying to decide whether it's worth owning a machine in the first place, our breakdown of print on demand vs. buying a sock printer, and whether it's actually profitable, walks through the real numbers first.
Ready to see the machine behind this review?
Take a look at the full setup and specs of this 360° sock printer.
View the sock printer →Watch my whole run, start to finish
Reading about it is one thing, but seeing it move is another. If you'd like to watch my full hands-on run ... paper, sock, print, and cure ... here's the video of my first time using it. Enjoy.