The Best DTF Printer for Beginners: How to Start Your Print Business
Why Choose DTF for a Startup?
DTF (Direct-to-Film) printing removes most of the barriers that make other methods painful for beginners. No screens, no emulsion, no color minimums. You print, powder, cure, and press — and the entry cost is a fraction of what screen printing demands.
Key Features to Look For in Your First Printer
White Ink Circulation
White ink settles and clogs faster than any other color. An automated white ink circulation system keeps it moving during idle periods — without one, expect to unclog print heads every time the machine sits for more than a day.
Print Head
Most entry-level DTF printers use Epson i3200 or XP600 heads. Both produce good results; the i3200 offers better longevity and finer dot placement. The head model matters less than the sealed ink delivery system — quality dampers that prevent air ingestion separate a reliable machine from a frustrating one.
Bundled RIP Software
RIP software controls color separation and white ink layering. Look for a machine that includes a licensed copy of Maintop, Photoprint, or Flexi. Without proper RIP, colors appear flat and whites look gray.
If a printer listing does not mention which RIP software is included, ask before buying. It matters as much as the hardware.
Print Width: Where to Start
| Width | Best For | Entry Price | Verdict |
|---|---|---|---|
| A3+ (13") | Single garments, samples, low volume | $400 – $900 | Start here |
| 24" roll-to-roll | Gang sheets, higher volume, wholesale | $1,800 – $4,500 | Scale into this |
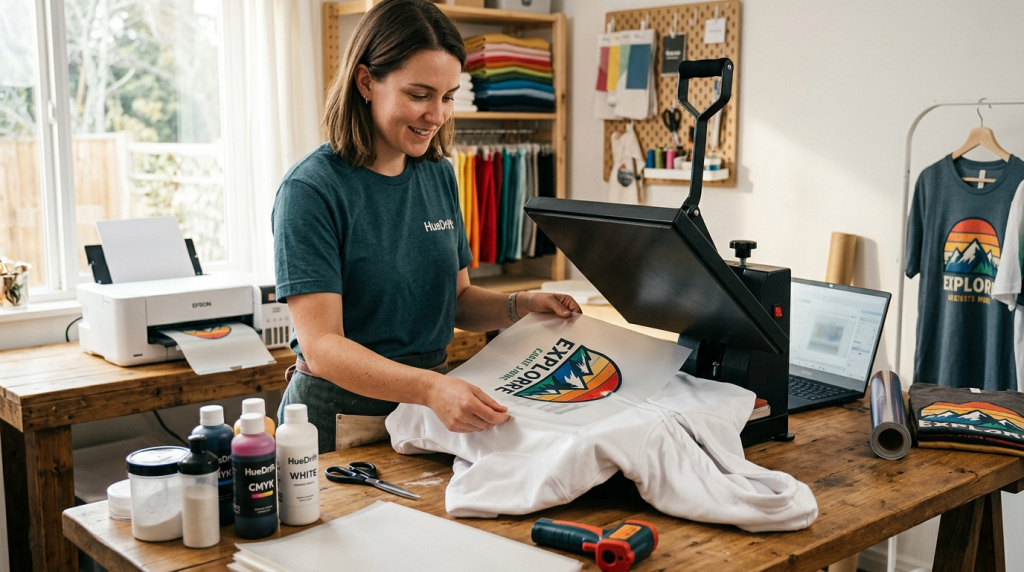
Essential Gear Beyond the Printer
The printer gets all the attention. In practice, the quality of your heat press and curing setup determines results just as much.
-
✓
Heat Press (15×15" minimum) — Budget $250–$350 for a swing-away or clamshell with a digital temperature controller. A cheap press with an inaccurate platen will ruin more transfers than it saves in cost.
-
✓
DTF Powder Shaker / Curing Oven — Combined units that shake excess powder and cure the adhesive in one pass remove the most common source of beginner error.
-
✓
DTF Inks — Do not mix ink brands until you have done your own color profiling. Off-brand inks can work well, but need matching ICC profiles or whites shift gray.
-
✓
Transfer Film — Store in a sealed bag away from humidity. Film that has absorbed moisture produces bubbles in the finished transfer.
-
✓
Infrared Thermometer — A $15–$20 IR gun lets you verify your press platen temperature independently. The built-in readout is often 10–20°F off.
Budget at least as much for the rest of the setup as you do for the printer itself. That is where the quality actually shows up.
— Marcus T., DTF supply specialist, 6 years in the trade
Getting the Temperature Right
This is where most beginners lose prints — and money. The numbers below are specific because they matter.
Common mistake: A widely circulated figure puts DTF curing temperature at 120°C–130°C. That is too low. The hot-melt adhesive powder will not fully activate, and transfers will peel after a few washes.
| Step | Temperature | Time | Visual Check |
|---|---|---|---|
| Powder curing (oven) | 160°C – 170°C (320–338°F) | 2–3 min | Film looks glossy, not matte |
| Heat press transfer | 160°C – 165°C (320–330°F) | 10–15 sec | Peel per film spec (hot or cold) |
These are starting points. Always run a test press on scrap fabric and do a wash test after 24 hours before fulfilling customer orders.
Your First Workflow
The sequence is straightforward, but the order is not flexible. Skipping a step or rushing the cure is the most reliable way to produce a transfer that fails at the wash.
Send your design through RIP software. The printer lays CMYK first, then white ink as an underbase. Let film sit flat — do not stack wet prints.
While ink is still wet, apply hot-melt adhesive powder across the printed area. Shake off all excess — residual loose powder causes adhesion problems on the garment.
Run film through the curing oven at 160°C–170°C for 2–3 minutes. The finished surface should look sealed and glossy, not powdery.
Position transfer face-down on the garment and press at 160°C–165°C for 10–15 seconds. Peel hot or cold according to your film type.
For any new ink, film, or temperature combination, machine-wash a sample cold and tumble dry low. A properly cured DTF print survives 50+ wash cycles without cracking or peeling.
Beginner Stories
Two customers who started with a desktop DTF setup in the past 18 months:
"The first two weeks were rough — color banding because I had not calibrated the RIP profiles. Once I sorted that, transfers came out clean every time. By month three I had a recurring wholesale client: a local gym ordering 30–40 custom tees a month."
Profitable within 4 months"I skimped on the heat press and spent weeks thinking my printer was broken. Half my transfers peeled at the edges after washing. I upgraded to a proper swing-away press and the problem vanished overnight. The printer was fine the whole time."
60+ orders in first 6 monthsFrequently Asked Questions
How often do I need to maintain my DTF printer?
Run a nozzle check every morning — 30 seconds that saves wasted film and ink. Do a small head clean every 3–5 days if printing daily. If the machine sits for more than 48 hours, run the white ink circulation cycle before your first print.
How durable are DTF prints?
Properly cured transfers handle 50+ machine wash cycles without significant cracking or peeling. The curing step is the variable that matters most — under-cured transfers will start lifting after 5–10 washes regardless of press settings.
What is a realistic starting budget?
An A3+ printer, powder shaker/oven, mid-range heat press, starter inks and film typically runs $1,500–$2,500 USD. Bundles are worth it for beginners. Budget separately for maintenance supplies — cleaning solution, spare dampers, extra film — these are easy to overlook.
Can I print on dark fabrics?
Yes. The white ink underbase is what makes DTF strong on dark garments — colors print accurately on black or navy without any pretreatment step, which sublimation cannot do.
Do I need design experience?
You need print-ready files: PNG with a transparent background, 300 DPI minimum. Canva and Adobe Express handle most basic apparel graphics. RIP software takes a day or two to learn; all major packages have solid tutorials online.