DTF Printer Cost:
How to Calculate Your ROI
The machine is only the starting point. Here's the complete framework small business owners actually need before buying.
Standing at the edge of the custom apparel business, it's easy to fixate on a single number: the sticker price of the printer. But that figure tells only a fraction of the story. Entrepreneurs who win in this market are the ones who plan for the full cost picture — before a single shirt rolls off the heat press.
Breaking Down the Upfront DTF Printer Cost
Equipment: Entry-Level vs. Professional Grade
Entry-level desktop DTF units typically start around $2,000–$5,000, while professional-grade roll-to-roll systems range from $8,000 to $25,000+. The gap in price reflects a much larger gap in output capacity.
A desktop printer producing 30 transfers/hour sounds fine — until a client orders 200 shirts for an event next Friday. Before choosing entry-level, ask yourself: Will I lose a meaningful contract because I can't fulfill it fast enough? The answer determines whether "saving money upfront" actually costs you more.
Marcus T., who runs a 3-person apparel shop in Austin, started with a $3,200 desktop unit. After 6 months he upgraded to a mid-range roll-to-roll. "I wish I'd just bought the bigger one. The desktop paid for itself, but I lost two bulk orders while I was waiting on production. That gap in revenue was bigger than the price difference between the machines."
Necessary Infrastructure & Accessories
Beyond the printer body, your startup budget must include:
| Item | Estimated Cost | Notes |
|---|---|---|
| Powder shaker / curing oven | $800–$3,500 | Often sold separately from the printer |
| Air purification system | $300–$800 | Required for safe indoor operation |
| Heat press | $400–$1,200 | 15×15" minimum; 16×20" preferred |
| RIP software | $200–$600 | Controls ink channels & white layer |
| Film & initial consumables | $150–$400 | Start with 100m rolls to gauge usage |
When installing your air purification system, keep the exhaust pipe under 2 meters (≈6.5 ft). Longer runs create backpressure inside the curing zone, which causes uneven powder melting and produces a patchy, low-adhesion finish — even when your ink settings are perfect. This is one of the most common beginner mistakes we see on shop visits.
How to Calculate Your ROI (Step-by-Step)
Skip the guesswork. This three-step framework gives you a defensible number before you spend a dollar.
Calculate Your True Cost Per Print
Divide all production costs by your actual usable output — not your theoretical maximum.
Include a 10–15% waste factor in your ink cost to account for automatic white ink cycling and test prints. Omitting this is how most operators end up with costs 20% higher than projected.
Estimate Your Profit Margin Per Item
Survey competitor pricing on Etsy, local markets, and Instagram shops for comparable custom apparel. Your price must comfortably cover: cost per print + blank garment + labor to press + overhead + equipment depreciation.
| Cost Component | Typical Range (per shirt) |
|---|---|
| DTF transfer (print + materials) | $1.20 – $2.50 |
| Blank garment (Gildan/Bella+Canvas) | $2.50 – $8.00 |
| Labor (press + QC + pack) | $1.50 – $3.00 |
| Equipment depreciation | $0.30 – $0.80 |
| Total cost | $5.50 – $14.30 |
| Market selling price (custom tee) | $18 – $35 |
| Net margin range | $4 – $20+ per shirt |
Find Your Break-Even Point
Divide your total startup investment by your net profit per unit. This tells you exactly how many shirts stand between you and profitability.
At 20 shirts/day → break even in ~75 working days (~3.5 months)
Adjust your projections conservatively — assume 60–70% capacity utilization in your first three months while you build your client base.
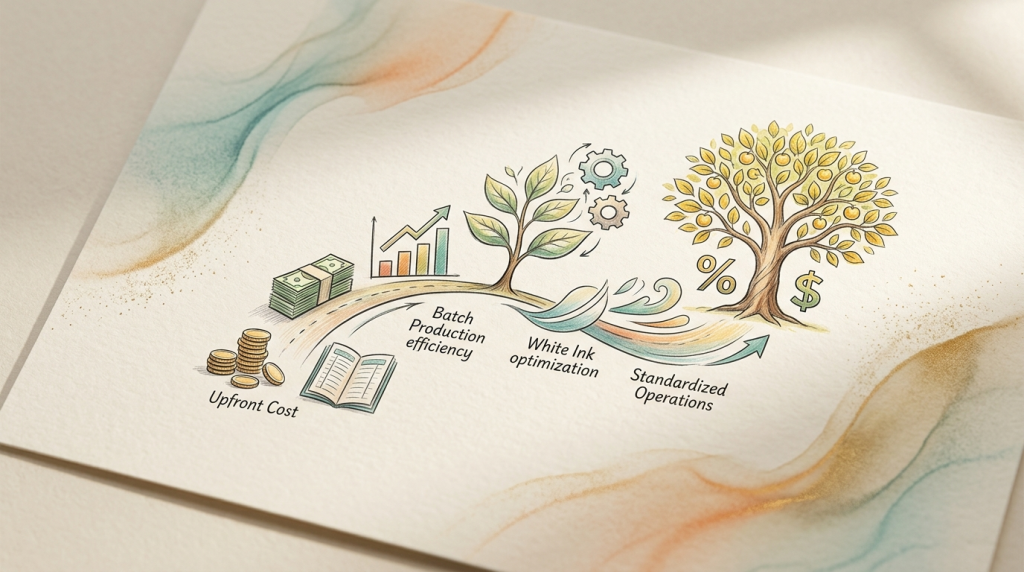
Strategies to Maximize Profit & Minimize Waste
Batch Printing: The Single Biggest Lever
The most impactful operational change you can make is switching from on-demand single prints to batched production runs. Group similar designs and garment colors into daily or weekly print runs. Our users who adopted a structured batch model reported:
Standardize Your Operations
Create a fixed daily checklist: morning printhead nozzle check, ink level top-up, humidity reading, and waste ink tray drain. Operators who follow a written daily protocol reduce their printhead replacement frequency by roughly half compared to those who troubleshoot reactively.
1. Adjust ink density settings by pattern type — solid fills use 30–40% more ink than line art at default settings.
2. Power down fully on zero-order days to eliminate idle white ink cycling.
3. Use premium PET film consistently — cheap film increases waste due to higher rejection rates, which offsets any material savings.
4. Keep ambient temperature between 65–77°F (18–25°C) for consistent curing and fewer reprints.
Ready to Run Your Numbers?
Use HueDrift's supplier network to get accurate, current pricing on DTF printers, inks, and film — so your ROI calculation is based on real costs, not guesses.
Explore HueDrift →Frequently Asked Questions
With consistent volume — roughly 15–25 orders per day — most small shops recoup a mid-range setup ($8,000–$15,000 total investment) in 4 to 7 months. Entry-level setups can pay back faster in dollars, but lower throughput often extends the timeline if you're turning away larger orders. The key variable is not the machine price — it's how quickly you fill your calendar.
Often, yes. Lower-cost units typically have less stable printhead performance, which leads to higher rework rates (reprints due to defects) and more frequent maintenance intervals. The real cost isn't just the hardware — it's the time spent troubleshooting instead of printing, and the orders you can't fulfill because your machine is down. If your rejection rate is 8–10% instead of 2–3%, that waste alone can erase your equipment savings within a year.
Yes — white ink consumption typically runs 2 to 3 times higher than CMYK inks for the same print area, because it requires a dense underbase layer for opacity on dark fabrics. You can partially offset this by using RIP software settings to reduce white ink density on lighter designs or when printing on white/light garments (where no white underbase is needed). For heavily saturated dark-on-dark designs, expect white ink to represent 50–60% of your total ink cost for that print.
In our experience, rework costs from unstable equipment are the most consistently underestimated expense — not just the material waste, but the labor time to identify defects, reprint, and re-press. A close second is idle white ink circulation waste, which can silently consume 10–15% of your white ink supply on weeks with moderate downtime. Both issues are manageable with the right machine, proper maintenance habits, and smart scheduling.
Target 40–55% relative humidity. Below 40%, static buildup on the PET film can cause powder adhesion issues and occasional misfeeds. Above 60%, the film absorbs ambient moisture, leading to the edge ghosting and adhesion failures described in the maintenance section above. A basic digital hygrometer ($15–$30) and a small dehumidifier or humidifier are worthwhile investments before you spend money on printhead inspections.