
HueDrift · Setup Guides
DTF Printer and Shaker Setup: Step-by-Step Guide (2026)
Your DTF printer and shaker setup will decide whether your first week of operation is spent printing or debugging. Having walked many new owners through this on remote support calls, I see the same trend every time: the machines are usually fine, but one minor setup step gets skipped.
Let's get everything sorted. This guide covers the most common small-business configuration — an A3/A3+ DTF printer with a separate powder shaker. Set aside 2–4 hours and clear each verification point before moving on.
Not ready to buy your gear yet? Read our DTF Printer and Shaker Combo: Complete Buyer's Guide (2026) first, then come back here on delivery day.
Before You Begin: Space, Power & Environment
A "faulty machine" call that turns out to be a room problem is a weekly event on our support line. Before opening a single package, run this checklist:
- Space — room behind each machine for servicing, plus a clear, straight path for film to travel between them.
- Power — always use a surge protector. One spike can fry a mainboard. Never plug straight into the wall.
- Humidity — hold the room at 45%–55% RH. Too dry, and ink dries inside the printhead nozzles. Too humid, and adhesive powder cakes up.
Buy an inexpensive hygrometer (around $10) and mount it on the wall. Best bang for your buck in this industry.
Drop two or three silica gel packs into your powder container the day you open it. Hot melt powder absorbs moisture within days in a humid room — and clumped powder is the top cause of speckled, uneven powder coating.
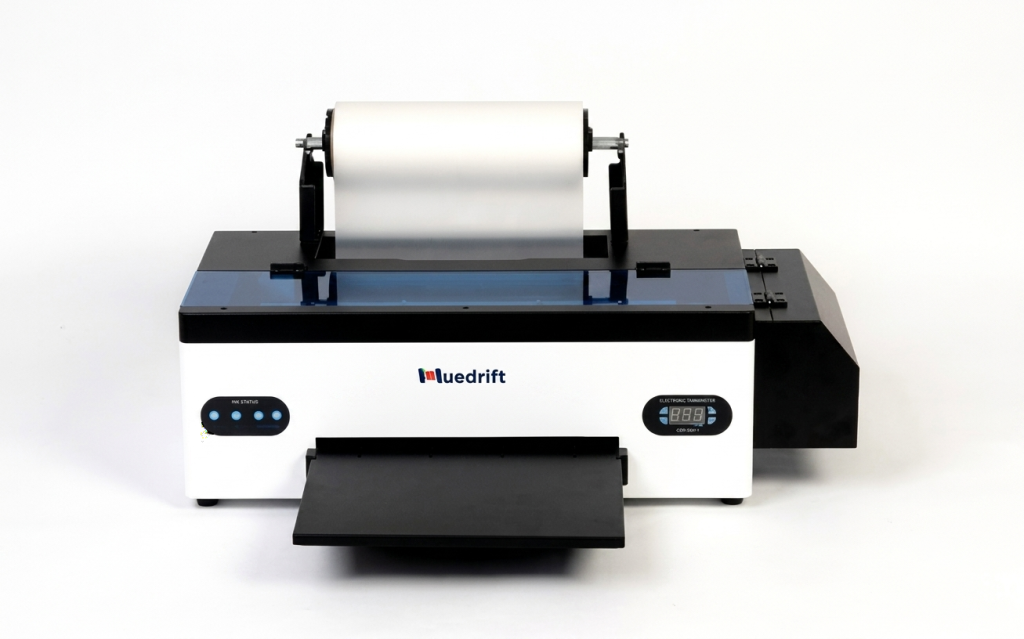
STEP 1Unpack and Position Your DTF Printer
Find every transport lock and printhead protection piece before powering on. They're listed in the manual — miss one, and the carriage can jam on its very first movement.
Then level the printer with a spirit level. It feels fussy, but it's crucial: an unlevel printer produces uneven white ink distribution and film drift. Both look like machine defects. Both are usually just a wobbly table.
Install Ink and Run a Nozzle Check
- Shake white ink vigorously before loading. Pigment settles faster than you think.
- Fill CMYK and white channels, then confirm the white ink circulation system is running.
- Print a nozzle check and examine every line.
One sign worth memorizing: if test prints later look faded and gray, don't blame the color inks. Chances are you're seeing missing segments in the white channel of the nozzle check. Clean the printhead and test again.
STEP 2Set Up the Powder Shaker
Level the shaker and align its film inlet with the printer's outlet. Next:
- Add TPU hot melt adhesive powder to the designated fill line — not the brim.
- Pre-warm the curing zone to your powder supplier's recommended temperature and let it stabilize.
- Connect the smoke purification or exhaust module before the first run. Even low-odor curing produces fumes.
You'll reorder consumables regularly, so stock up on DTF films, inks, and powder from one trusted source — mixed-brand consumables are a common cause of adhesion issues.
Match Film Width and Feed Direction
The shaker's working width must match your printer's film width. A 13-inch A3+ printer — such as our Huedrift Pro or Pro Max — needs a shaker built for that exact roll size. Feed direction matters too: roll-fed and sheet-fed systems thread differently.
Can a width mismatch be fixed in settings? No — nothing helps you there. If you're unsure, choose a pre-matched pair from our DTF printing equipment collection.
STEP 3Connect Printer and Shaker into One Line
This step causes most of the trouble I see. One example: a client — let's call him Marcus, in Texas — called in his second week, convinced his shaker motor was failing. On a quick video call we watched the line run for two minutes and spotted the shaker conveyor running slightly faster than the printer. The film was being stretched, distorting prints by a few millimeters. One speed adjustment, problem gone.
So watch your film tension like a hawk:
- Shaker too slow → film piles up and wrinkles between the machines.
- Shaker too fast → film stretches designs or tears the roll.
- Goldilocks setting → a small, even sag in the film between the two units.
Once the conveyor speed is dialed in, mark the dial position with tape or a paint marker. If it's bumped during cleaning, you'll reset it in seconds instead of recalibrating from scratch.
STEP 4Configure Your RIP Software
Install the RIP software and connect it to the printer. Resist the urge to tune everything on day one:
- Set output to mirror image — DTF prints reversed onto the film.
- Use the default ICC profile. Leave color curves alone for now.
- Start with the recommended white ink density; adjust only after real test prints.
HueDrift machines ship with pre-built configuration profiles, so this stage needs very little manual setup.
STEP 5Test Print and Quality Check
Print a test file with solid blocks, fine lines, and gradients. How do you define "good"? Measure against four criteria:
- Consistent whites — no banding, no thin spots.
- Clean margins — flick the cured film; nothing falls off areas without ink.
- Matte finish — glossy spots on a cured print mean under-curing.
- Flexible transfer — the pressed design stretches with the fabric without cracking.
Wash-test your transfers at least three times before taking paid orders. We ask every first-time customer to do this — it's the only honest durability check.
Common Setup Mistakes to Avoid
| Symptom | Likely cause | Fix |
|---|---|---|
| Film wrinkles or drifts | Machines unlevel, or speeds out of sync | Re-level both units; retune conveyor speed |
| Powder on blank areas | Too much powder, or vibration too weak | Reduce fill; raise vibration strength |
| Powder clumping | Humidity too high, or powder unsealed | Dehumidify; store powder sealed with silica gel |
| Prints wash off | Curing temp too low, or conveyor too fast | Raise temperature; slow the belt |
| Gray, pale prints | White ink density low, or white nozzles blocked | Raise density in RIP; clean printhead |
Recognize any of these from your own shop? Most take under ten minutes to fix once you know the cause.
FAQ: DTF Printer and Shaker Setup
How long does setup take?
Most first-timers finish in 2–4 hours. Plan for half a day including test prints.
Can I set it up myself?
Yes — most of our clients do. Video tutorials and a remote support call cover the vast majority of cases.
Do the printer and shaker need to be from the same brand?
No, but film widths and feed styles must match exactly.
Will the shaker's built-in dryer fully cure the transfers?
Yes, for most workflows — provided temperature and conveyor speed are set correctly.
Conclusion
Three things make a DTF printer and shaker setup trouble-free: a controlled environment, matching film widths, and synchronized speeds. Get those right, and your first production run becomes routine instead of stressful.
Setting up a HueDrift machine?
Every printer comes with free video tutorials and lifetime remote support. We'll walk through the setup with you, screen to screen.
Contact our support team