
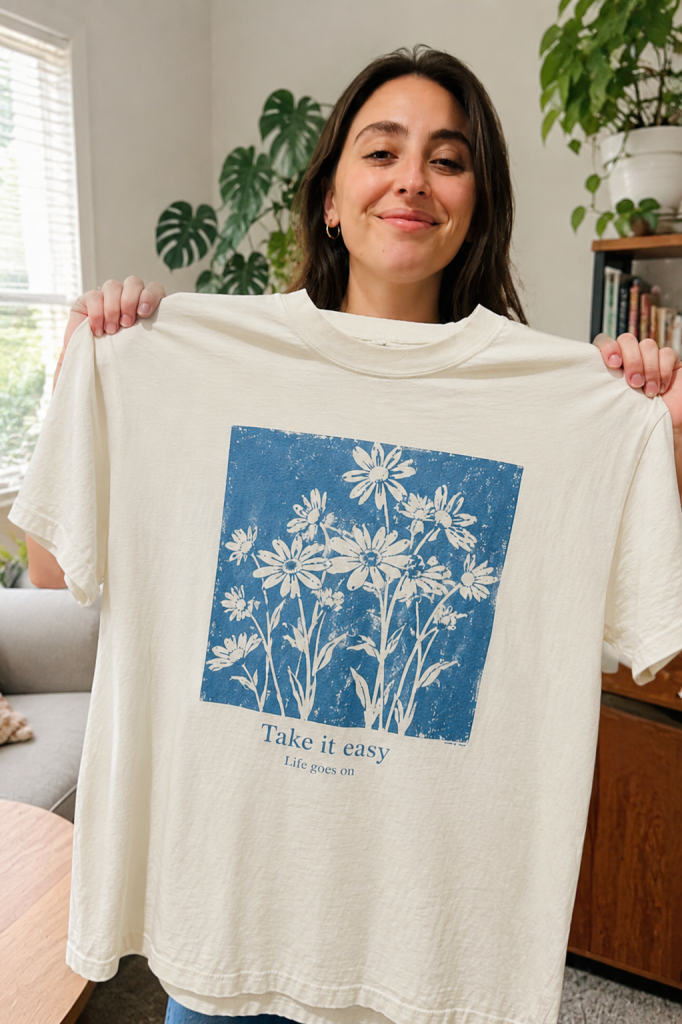
How to Do DTF Transfers at Home
DTF (direct-to-film) printing is one of the few professional-grade decoration methods that genuinely works from a spare room or garage. This guide walks through the full home DTF workflow — what you need, each step of the process, the mistakes that trip up most beginners, and whether ready-made transfers or your own printer makes more sense for how much you plan to print.
Unlike screen printing, which needs screens, emulsion, and a dedicated wash-out area, or embroidery, which requires a digitizing skill set most beginners don’t have, DTF is comparatively forgiving to learn at home. The process breaks down into a handful of repeatable steps — print, powder, cure, press — and once you’ve run through the sequence a few times on scrap fabric, most of the “art” of it becomes muscle memory. That’s a big part of why DTF has become the default entry point for people testing a custom apparel side hustle from home rather than committing to a commercial setup on day one.
That said, “works at home” doesn’t mean “no learning curve.” The temperature, timing, and pressure windows are narrower than they look on paper, and small mistakes — an unmirrored design, a rushed peel, a skipped second press — are the difference between a shirt that lasts fifty washes and one that cracks after three. This guide covers both sides: the mechanics of doing it right, and the practical realities of running the process in a home environment rather than a commercial shop floor.
What You Need for DTF at Home
Six items make up a complete home DTF setup. Most beginners already have a couple of these, or can pick them up alongside the printer.
The printer is the anchor purchase, but it’s the least of your recurring costs — ink, film, and powder are what you’ll be restocking regularly, so it’s worth understanding what each one does before you buy anything. PET film is the intermediate carrier: your design prints onto it first, not directly onto the fabric, which is the core difference between DTF and older direct-to-garment methods. The white ink layer is what gives DTF its signature ability to print bright, opaque designs on dark shirts — something that trips up printers using CMYK-only systems. And the hot-melt powder is doing more work than it looks like it’s doing: without it, the printed ink would just sit loosely on the film with nothing to actually bond it to the fabric during pressing.
DTF Printer
A desktop A3/A3+ model is the standard starting point for home use — small footprint, standard household power.
PET Transfer Film
The carrier film your design prints onto before it’s pressed onto fabric.
DTF Ink
CMYK plus white ink — white is what makes designs pop on dark garments.
Hot-Melt Powder
Applied over the wet ink; this is what actually bonds the design to fabric when cured.
Curing Method
A heat press (hover method) or dedicated curing oven to melt the powder before pressing.
Heat Press
For the final application — a craft-size press works for home use; a full-size press scales better.
DTF Transfers at Home, Step by Step
The same six-step workflow professional shops use, scaled down for a home setup.
Each step in this sequence exists to solve a specific problem in the one before it, which is worth understanding rather than just memorizing. Mirroring exists because the film gets flipped before pressing. Powdering exists because ink alone has nothing to grip the fabric with. Curing exists because raw powder needs heat to actually melt into a bonding layer rather than sitting on the surface as dust. Once you see the steps as a chain of cause and effect rather than an arbitrary checklist, troubleshooting a bad print gets a lot easier — you can usually trace a failure back to whichever link in the chain got rushed.
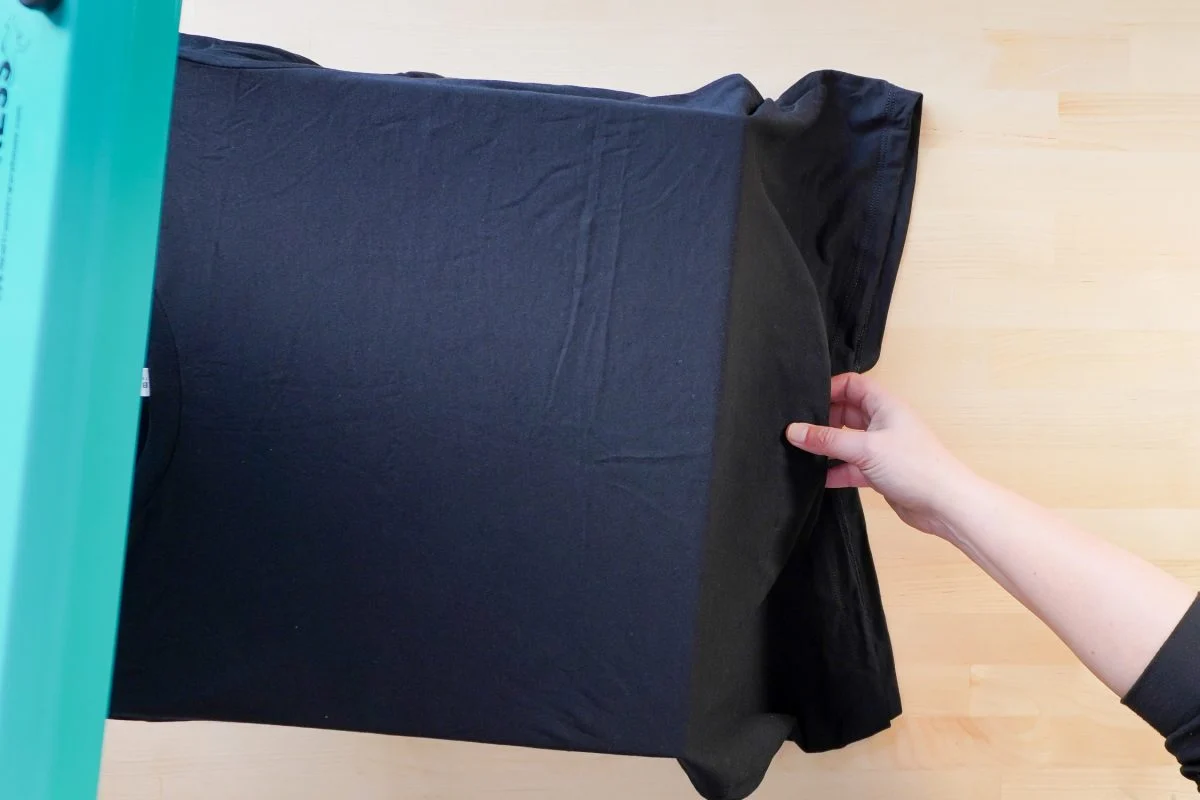
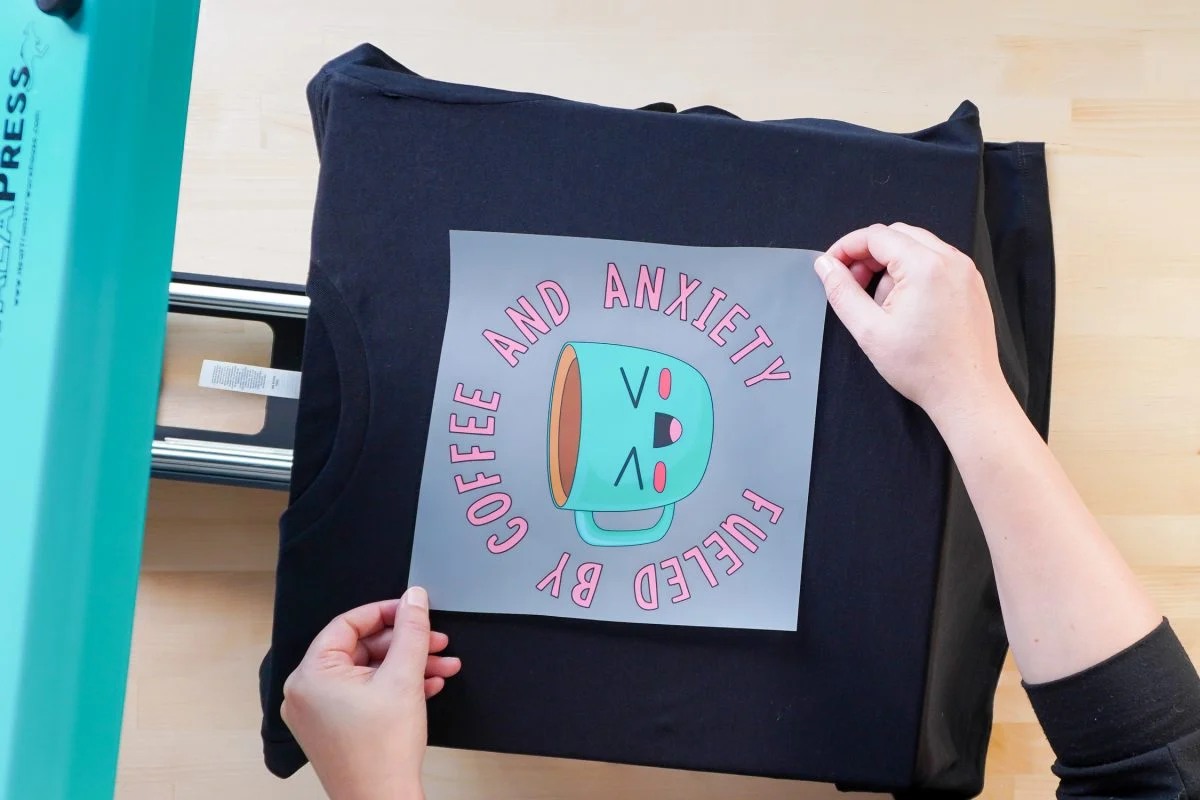
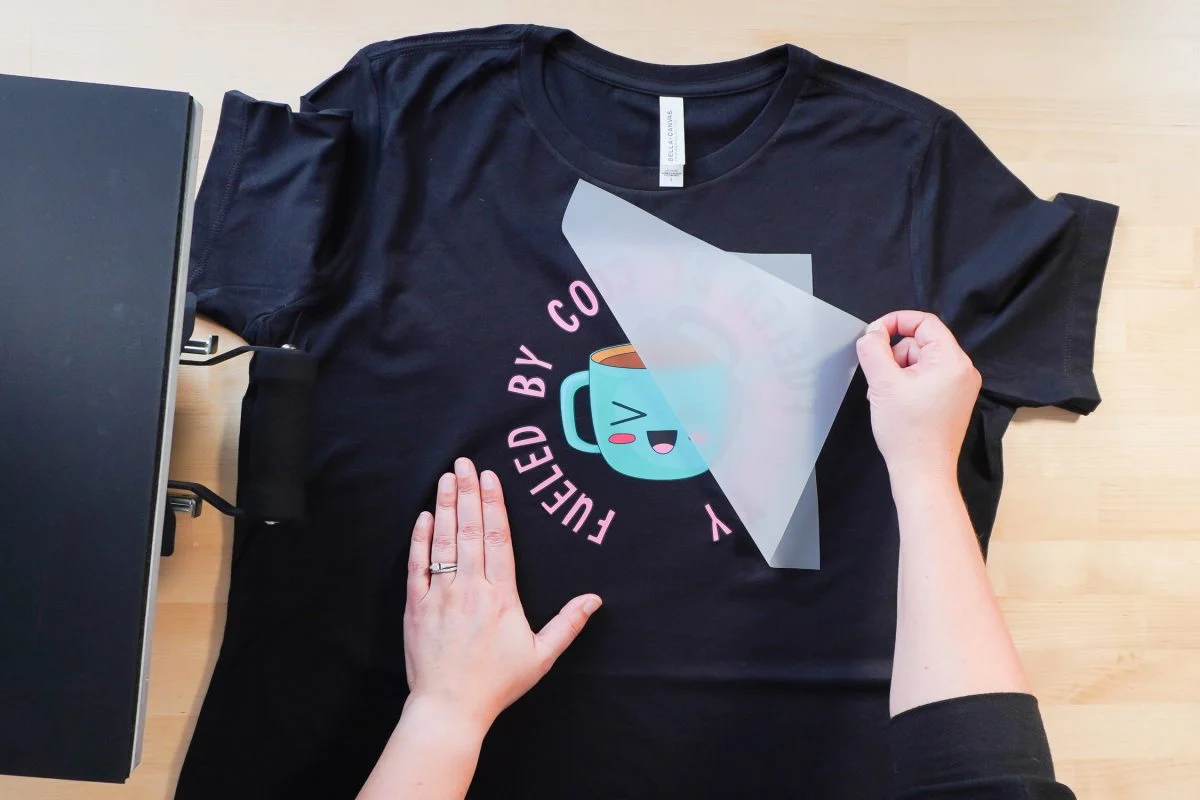
Don’t skip the second press: It’s tempting to stop after peeling, but a short second press with a cover sheet embeds the adhesive deeper into the fabric and is the single biggest factor in wash durability. Skipping it is one of the most common reasons home-pressed transfers crack early.
What’s Different About Doing This at Home
A home setup has real constraints a commercial shop doesn’t — space, power, ventilation, and noise all factor in.
None of these constraints are dealbreakers, but they do shape which equipment makes sense. A shop floor can absorb the noise of a heat press, run an exhaust hood over the curing station, and dedicate a whole room to nothing but printing. A home setup usually can’t, which is exactly why desktop-format printers exist — they’re designed around the assumption that the machine is sharing space with the rest of your life, not sitting in an isolated production room. The tradeoffs below are the ones that actually come up once people start printing regularly rather than just testing the idea.
| Consideration | What to Know |
|---|---|
| Space | Desktop A3/A3+ printers fit on a regular table or desk — no need for a dedicated workshop |
| Power | Standard household outlets are sufficient for entry-level and mid-range printers |
| Ventilation | Curing powder releases mild odor when heated — work near an open window or with a fan running |
| Iron as a substitute | Workable for the occasional single print, but uneven pressure makes it unreliable for consistent results |
| Storage | Keep ink and powder in a cool, dry place away from direct sunlight to preserve shelf life |
Ventilation is the one people underestimate most. It’s not a hazardous fume in any serious sense, but the odor from melting hot-melt powder is noticeable in an enclosed room, and it lingers longer than most people expect if there’s no airflow. A cracked window and a small fan pointed away from your work area solves this for the vast majority of home setups — you don’t need an industrial exhaust system, just somewhere for the air to actually go.
Ready-Made Transfers or Your Own Printer?
Before buying equipment, most people weigh this question: order pre-printed transfers online, or invest in a printer and do it yourself. Both are legitimate paths — the right one depends on how much you actually plan to print.
Ready-made transfers are a genuinely good option for the right situation, and it’s worth being upfront about that rather than dismissing them outright. If you need a handful of shirts for a birthday party, a one-off team event, or you’re just testing whether a design idea sells before committing to anything, ordering pre-made transfers means zero equipment cost and zero learning curve. You upload art, pay per piece, and press it yourself — or have someone else press it for you.
Where that model starts to work against you is volume and control. Every transfer you order carries a markup that covers someone else’s printer, ink, labor, and profit — reasonable for them, but it means your cost per shirt never really drops no matter how many you order. You’re also on their production and shipping schedule: a same-day idea becomes a multi-day wait, and if a customer wants a design tweak, you’re reordering and waiting again rather than reprinting in five minutes. Neither of these is a problem for occasional use. Both become real friction once you’re printing weekly rather than occasionally.
| Buying Ready-Made Transfers | Owning a DTF Printer | |
|---|---|---|
| Upfront cost | $0 — pay per transfer as you order | $1,999+ for the printer, offset over time |
| Cost per print at volume | Stays flat regardless of how many you order | Drops significantly — you’re paying for ink, film, and powder, not markup |
| Turnaround | Shipping wait, typically 1-5 business days per order | Print on demand — minutes, not days |
| Design flexibility | Limited to what you can order in time; reorders needed for tweaks | Full control — print, adjust, reprint instantly |
| Best for | One-off projects, gifts, testing an idea before committing | Regular orders, a growing side business, or reselling to others |
| Long-term economics | You’re paying someone else’s margin on every single order | The printer becomes an asset — and can generate income printing for others |
| Bottom line | If you’re printing more than a handful of shirts a month, a printer typically pays for itself faster than most people expect — and you stop waiting on shipping for every single order. | |
The crossover point comes sooner than most people assume, mainly because they only count the sticker price of ready-made transfers and forget to price in their own time. Every reorder is a design upload, a wait for shipping, and a delay before you can fulfill a customer or finish a project — none of which shows up on the per-transfer invoice, but all of which is real cost. Owning a printer trades a larger upfront number for near-zero marginal friction on every order after that.
Not sure where your break-even point is? The math depends on your order volume, local pricing, and the printer you choose — plug in your own numbers with the DTF Printer ROI Calculator below to see an actual break-even timeline instead of a rule of thumb.
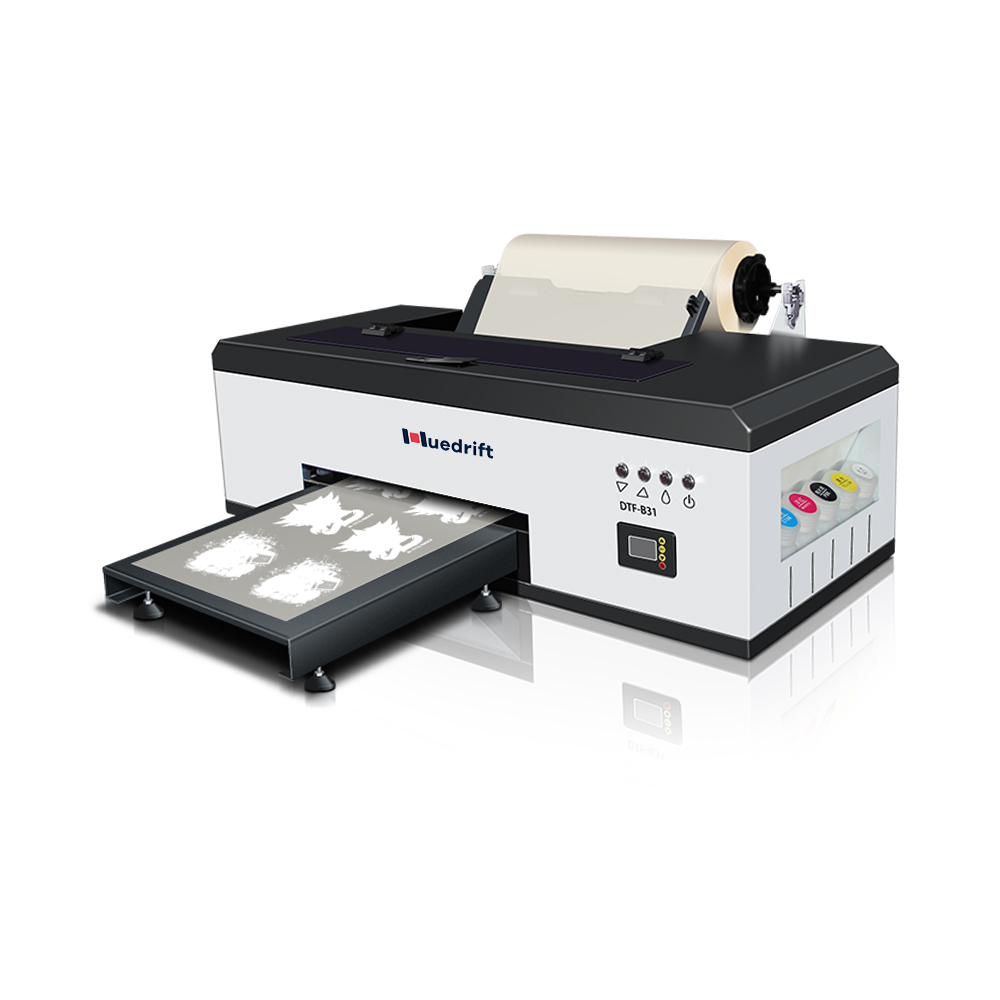
HueDrift One DTF Printer
Entry-level A3+ printer with a compact desktop footprint, refillable ink tanks, and free video tutorials — built for exactly this use case: doing DTF at home without a steep learning curve.
View HueDrift One →Beginner Mistakes That Ruin a Transfer
Most first-attempt failures trace back to one of these — all avoidable once you know to check for them.
What makes these mistakes frustrating rather than just inconvenient is that they usually aren’t visible until it’s too late to fix cheaply. A forgotten mirror doesn’t show up until the film is already printed and the text reads backward. A rushed peel doesn’t show up until the design has already lifted off the shirt. This is exactly why running a handful of test prints on scrap fabric before touching customer orders is worth the material cost — it turns an expensive mistake into a cheap one.
- Forgetting to mirror the design before printing
- Peeling the film too early, before it’s fully cool
- Applying too much or too little powder
- Skipping the second press after peeling
- Using a household iron and expecting even pressure
- Always mirror text and asymmetric designs before printing
- Wait for a full cool-down on cold-peel film — about 30-60 sec
- Shake off all excess powder that hasn’t stuck to the ink
- Cover with parchment and press again for 5-15 sec
- Use a heat press for consistent, repeatable results
Put together, none of this is complicated — it’s a short list of variables (mirror, powder, heat, pressure, timing) that each need to be right, not a rare skill that takes years to learn. Most people who stick with DTF past their first few prints get it dialed in within a handful of attempts, and from there the process becomes routine enough to run alongside everything else happening in the room it’s set up in.
See What Owning a Printer Actually Costs You
Run your own numbers — order volume, pricing, and printer cost — to see a real break-even timeline.
Open the DTF Printer ROI CalculatorNot sure what size to print? Check the DTF shirt size chart.
Home DTF Questions, Answered
A few more questions beginners ask before starting.